 1. Unplug the Computer: Ensure the safety of your system and your own by unplugging the computer from its power source first. Also, remove any peripheral devices.
2. Safety Precautions: Discharge static electricity before opening your computer case as it may damage sensitive components. You can do this by touching the metal region of your computer’s case.
3. Open the Computer Case: Use the manufacturer’s instruction manual to know how to correctly open your computer case.
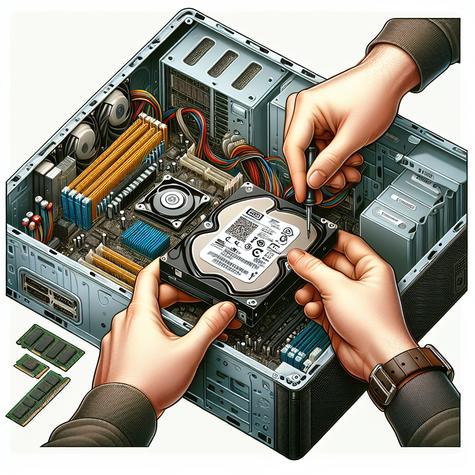
4. Spot the Mounting Space: There should be a free bay to mount your hard drive. Bay sizes will depend on whether it’s a desktop or a laptop. Desktop bays are usually larger.
5. Fix the New Hard Drive: The hard drive should fit right into the bay. Some computers have a removable bay which can be removed, affixed to the hard drive and then slotted back in.
6. Attach the Cables: Once the hard drive is in the correct position, connect it to the power supply. Then connect the data cable (usually it’s the SATA cable) to the hard drive and then the motherboard.
7. Check Installation: After the cables are secure, take a look to make sure the hard drive is properly secured.
8. Close the Case: When sure that everything sits perfectly in their place, put the case back together.
9. Power On and Configure: Power on your computer. The computer should recognize the new hard drive automatically. If it doesn’t, you might need to access the BIOS setup to detect it manually.
10. Format the Drive: If the new drive isn’t showing up in Windows, you may need to format it first by going into Disk Management, select the new drive and create a new partition on it.
11. Install Operating System: If the new hard drive is the primary storage place, you need to install an operating system on it for the computer to function.
12. Backup Your Data: Once everything is in place and the system works smoothly, consider creating a backup of your data.