DIY Tips for Installing a New Hard Drive

1. Unplug the Computer: Ensure the safety of your system and your own by unplugging the computer from its power source first. Also, remove any peripheral devices.

2. Safety Precautions: Discharge static electricity before opening your computer case as it may damage sensitive components. You can do this by touching the metal region of your computer’s case.

3. Open the Computer Case: Use the manufacturer’s instruction manual to know how to correctly open your computer case.

4. Spot the Mounting Space: There should be a free bay to mount your hard drive. Bay sizes will depend on whether it’s a desktop or a laptop. Desktop bays are usually larger.

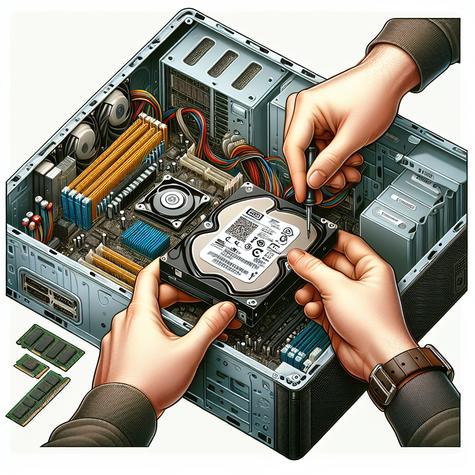
5. Fix the New Hard Drive: The hard drive should fit right into the bay. Some computers have a removable bay which can be removed, affixed to the hard drive and then slotted back in.

6. Attach the Cables: Once the hard drive is in the correct position, connect it to the power supply. Then connect the data cable (usually it’s the SATA cable) to the hard drive and then the motherboard.

7. Check Installation: After the cables are secure, take a look to make sure the hard drive is properly secured.

8. Close the Case: When sure that everything sits perfectly in their place, put the case back together.

9. Power On and Configure: Power on your computer. The computer should recognize the new hard drive automatically. If it doesn’t, you might need to access the BIOS setup to detect it manually.

10. Format the Drive: If the new drive isn’t showing up in Windows, you may need to format it first by going into Disk Management, select the new drive and create a new partition on it.

11. Install Operating System: If the new hard drive is the primary storage place, you need to install an operating system on it for the computer to function.

12. Backup Your Data: Once everything is in place and the system works smoothly, consider creating a backup of your data.
Revolutionize your Computer Experience with Multiple Monitors

Benefits:

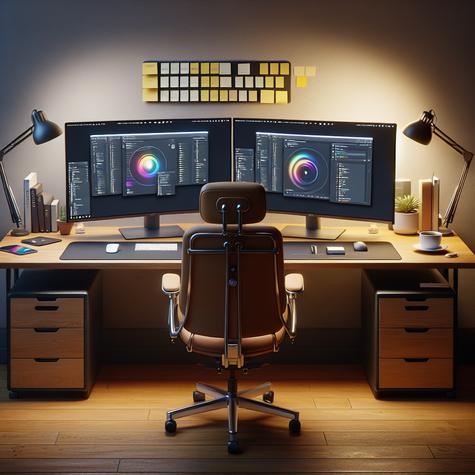
1. Multitasking: Having multiple screens allows for easier, more efficient multitasking. You can spread out your applications and effortlessly move between them without minimizing and maximizing windows.

2. Increased productivity: Several studies, including one by the University of Utah, have shown that multiple monitors can increase productivity by 20-30%.

3. Streamlined workflow: Multiple monitors can simplify your workflow by allowing you to dedicate each screen to a different task or program. This can be especially beneficial for professionals who work with extensive datasets, digital editing tools, or other complex applications.

4. Gaming experience: For gamers, multiple monitors can provide an immersive gaming experience by extending the display across multiple screens.

5. Video editing and graphic design: It allows video editors and graphic designers to have editing software on one monitor and raw material or related research on another.

Process:

1. Check your computer: Make sure your computer has the necessary graphics card that supports multiple displays.

2. Connect Monitors: Connect your second monitor with the correct cables to your computer. Most modern computers and monitors use HDMI, but other connections like VGA and DVI are also used.

3. Adjust Settings: Now you need to adjust your display settings. Right click on your desktop and choose screen resolution or display settings.

4. Identify Monitors: If you are using Windows, click “Identify” to see which monitor is 1 and which is 2.

5. Choose what to do with the second monitor: On the same screen, you can choose to extend the display, duplicate it (show the same thing on both monitors), or show desktop only on 1 or 2. Choose the option that best fits your desired use.

6. Arrange Your Displays: If you choose to extend your display, you can also choose which monitor is on the left and which is on the right by dragging and dropping the numbered displays at the top of the screen resolution menu.

7. Apply the settings: Click “apply” to save the settings.

Remember, you will need to have the proper cabling (like HDMI, DVI or VGA) to connect your monitor to your PC. Cabling will depend on the available outputs on your PC and inputs on your monitor. The process may vary slightly depending on the operating system that you are using. Always refer to the user manuals of your hardware and software to ensure you are following the correct setup procedures.

Simple DIY Upgrades: Revamping Your Home Computer

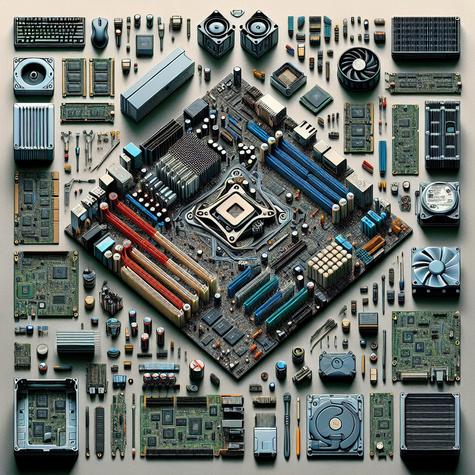
1. Upgrade the RAM: This is one of the easiest and most effective upgrades you can make on your computer. When working with large files or running multiple applications simultaneously, expanding your computer’s RAM can significantly increase its performance.

2. Install an SSD: Replacing your hard drive with a Solid State Drive (SSD) can significantly improve your computer’s speed and performance. SSDs have quicker read and write speeds than traditional hard drives and can make your computer feel much faster.

3. Upgrade the Graphics Card: For users interested in gaming or graphic design, a graphics card is an important component to consider. Upgrading to a more powerful graphics card will allow for smoother gameplay and increased performance in graphic-intensive programs.

4. Install Additional Cooling Fans: Overheating can be a major issue for many computers. Installing additional cooling fans can help the keep the computer’s temperature down and extend the life of its components.

5. Upgrade the CPU: The central processing unit (CPU) is the computer’s “brain.” Upgrading the CPU can provide a significant performance boost, but it is also more complex than other upgrades because it often requires changing other elements such as the motherboard.

6. Improve the Monitor: Upgrading to a larger or higher-resolution monitor can drastically enhance your computing experience.

7. Upgrade the Operating System: Upgrading to the latest version of your operating system (OS) can offer enhanced performance and additional features.

8. Add Extra Storage: If your hard drive is filling up, consider adding more storage. An additional hard drive or an external storage solution can provide more space for files and programs.

9. Improve Wi-Fi Connections: If your internet connection is slow, the issue may be Wi-Fi related. Consider upgrading to a high performance router or use a Wi-Fi range extender.

10. Cleaning Out Your Computer: Lastly, sometimes the easiest upgrade is a thorough cleaning. Dust can accumulate inside your computer, clogging fans and increasing temperatures. Cleaning out the case with some canned air can bring new life to a sluggish system.

Remember, even though these are simple upgrades, always ensure that you know what you’re doing or consult a professional to prevent any damage to your computer systems.